(see here for the full Agile Organizer series)
In The Agile Organizer, I described the basics my organization system. In this second part, I go into some ways that I use it that weren’t covered in the first post.
The Dumping Ground
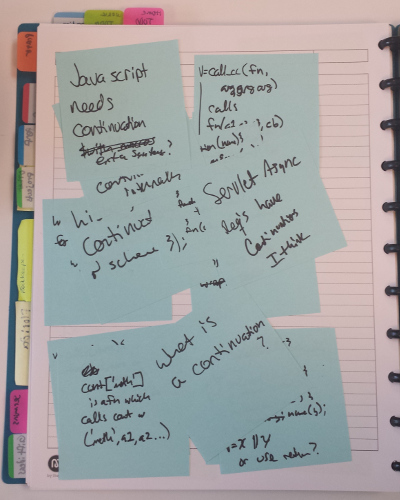
Sometimes, when I’m working on an idea, I just want to get the bits down, but don’t want to think, necessarily, about how they fit just yet. In such a case, I’ll have a page where I just stick the stickies to a page wherever they’ll fit, with the idea that I’ll come back to it later to sort it all out.
In the general case, it’s a GTD inbox. But in other cases, it’s a specialized inbox for a particular topic.

The Top Page
In the first post, I put my top level things on top of my calendar page which was the top page. Over time, I’ve found that it doesn’t work for me that well that way. What I do now, is to have a blank top page on which I stick the things I need to see during the day.
In certain cases, like when I was planning my weekend recently, I made a separate temporary top page to hold the things I planned to do over the weekend. Once it was empty, I put that page back into the supplies area of my notebook.
Take The Sticky With You
If the task at hand is not going to be done in proximity to the notebook, for example: a brief shopping list, or a reminder to take something upstairs from downstairs, I’ll take the sticky out of the notebook and take it with me. This is also a great solution for the “I went downstairs and now have totally forgotten why” problem.
Sticky Side Up
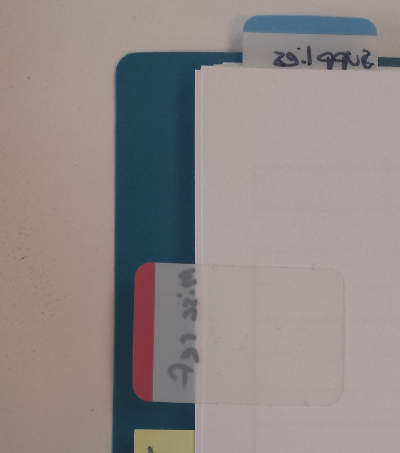
When using sticky tabs, since I open my book from left to right, I attach the tab to the left side page, so for tabs, I wind up writing on the bottom side of the tab. The reason being, I had it happen a couple of times where I attached it sticky side down on the right side page, and when opening the notebook later, it started to pull off the page. If it’s stuck to the left side page (sticky side down then), when you open it later, you’re pulling towards the stuck side, rather than away from the stuck side. If that paragraph made any sense.

Likewise if you need an “extended sticky,” you can take a second sticky, turn it upside down and attach the sticky section of the extended note to the bottom back of the first one. This is a good solution when you don’t realize you need the longer sticky until you’ve already written over the part of the note where you would attach the second sticky note the normal way.

Sticky Stacking
The versatility of sticky stacking is hard to underestimate. It allows you to put a proper order to things, so that you see the things that are prerequisites to things further down the stack. It can be used to prioritize things. You can use it for clustering during sorting and later decide what to do with it. You can use it to increase density. For example, I had a packing list using 2x2 stickies, and the item was written on the very bottom so that I could fit more of them on the page and still see what I needed to see. Another benefit of doing packing lists this way, is that you can reuse the items on the list for your next trip!

Portability
Another thing I discovered (which you may have noticed in the above image), is that when I went on vacation, I didn’t want to take my usual full size notebook due to size/space constraints, but I still wanted to take a number of things along. I had a Moleskine notebook kicking around, and could just snag the postits out of my main notebook and put them in the Moleskine for the duration of the trip. Likewise, I could have taken a page or two out of the notebook and folded it in half.